
#1 – 48 recipe challenge – Recipe 31: Homemade Bread
I set myself this recipes challenge because I wanted to stretch myself; to try recipes, ingredients and methods that I’d never used before and explore some classics that I hadn’t been brave enough to attempt. Bread was something I had in mind to try right from the start and this month I finally dared to give it a go.
Bread making shouldn’t, in theory, be all that difficult. Humans have been baking bread for centuries. Once you understand the techniques they’re used in pretty much all types of bread making. Obviously you can vary the ingredients, and I’m told that additions to bread may make the dough behave in different ways but that if you keep it simple and practise, anyone should be able to bake a decent basic loaf. So I don’t really know why I was so scared of trying it.
I absolutely love bread and I’m very excited by the number of recipes which abound for breads with great ingredients like rosemary, bacon, cheese and so on added to them, but it’s no good trying to run before you can walk so I thought I’d better keep it simple for my first try. Last year I treated myself to Paul Hollywood’s ‘Bread’, so following his advice to beginner bakers, I started with a White Bloomer loaf. I found this great tutorial online: http://www.waitrose.com/home/tv/baking/get-baking-with-paulhollywoodwhitebloomerbread.html which demonstrates the technique of kneading (which was the bit I was most nervous of). I love working with cookbooks but sometimes it’s easier to learn by seeing something being done rather than trying to read instructions about it!
Taking a deep breath (I genuinely was really nervous about this first foray into bread making) I measured out the ingredients, bunged them in a bowl and got my hands dirty. Paul Hollywood recommends a clawing action to mix the dough. I’m not absolutely sure I got this bit right… I added the recommended amount of water, started ‘clawing’ the ingredients and they remained in a liquid state, totally flowing and not at all forming into a ball of dough. It was as if the flour was completely swamped by the water. I couldn’t see any way this was going to come together. I started to worry about whether I had added the correct quantity of flour, as it didn’t look like that much in the bowl. I had another look at my scales, wondered if I’d weighed out 300g instead of 500g, made a mental note to check properly next time, weighed out another 200g in case and started adding that to the mix.
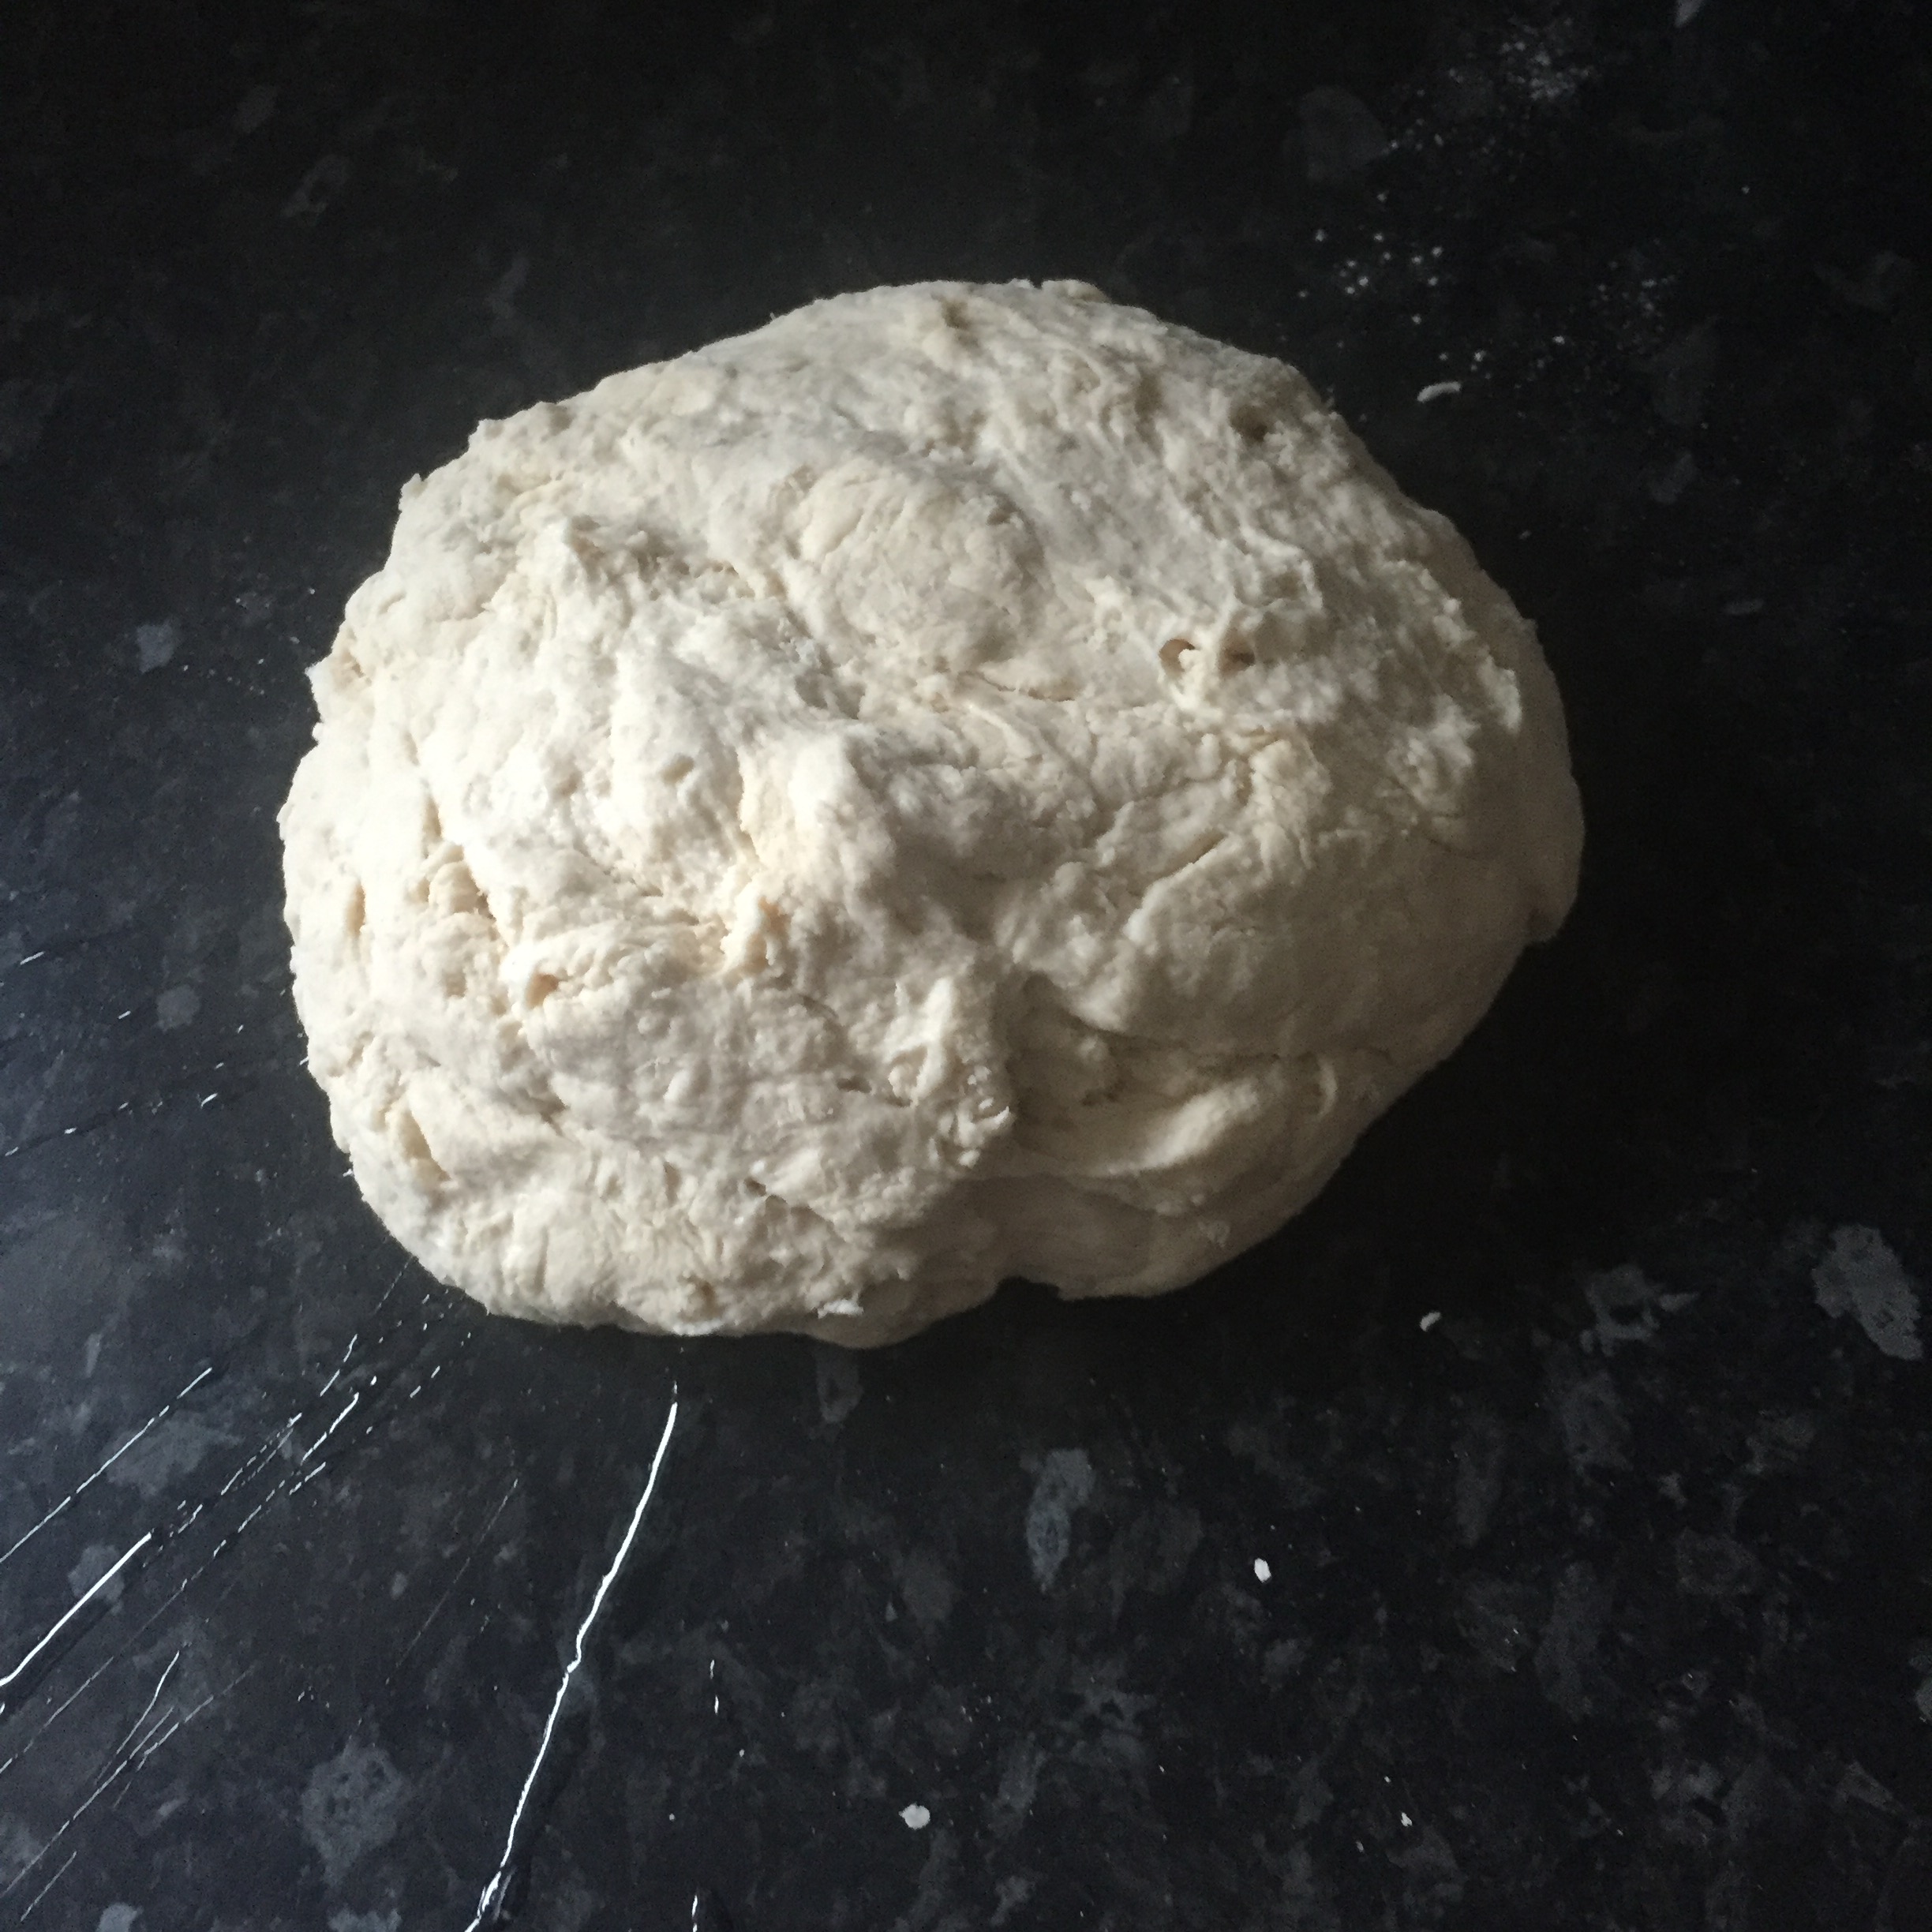
Dough, ready for kneading
After adding nearly all of the additional 200g of bread flour, it did finally come together into a ball but it was still very sticky. I’ll guess I’ll never know whether I weighed out the correct amount first time or not! Maybe I just didn’t give it long enough – a friend told me afterwards that this stage takes a long time. I was probably a bit impatient…
Next it was on to the kneading. Paul recommends using oil rather than flour on the surface to stop the dough sticking, to avoid effectively adding extra flour to the mix and making the dough drier, so that’s what I used (especially as I’d just added what might have been a lot more flour).

Action shot! Kneading the dough
I kneaded it (albeit very slowly compared with the speed an experienced baker does it), for about 20 minutes. As far as I could tell, it was getting stickier rather than smoother the longer I kneaded, so even though I didn’t think it was anywhere near as smooth as it should have been, I gave up and decided to pop it in a bowl and leave it to prove.
Paul advised leaving it until it had tripled in size. A friend who bakes bread regularly had also told me to leave it as long as possible (up to three hours) as this is the time in which the flavour of the bread develops. During the prove the bread basically ferments, so it gives off carbon dioxide and that’s when the real yeasty smell starts to come through.
Despite my reservations about the consistency of my dough and whether I’d kneaded it enough, I left it alone for 3 hours, and to my surprise, it rose!

Ready for the first prove

After the first prove – well, that’s certainly risen!
The next stage was ‘knocking back’. Which basically seems to mean walloping and repeatedly folding the dough to knock all the air out of it so it goes back to pretty much its original size, before moulding it into the required shape for the final loaf. It seemed a bit odd to give it so much time to rise, only to totally squash it back, but apparently this initial proving stage not only develops the flavour but also develops the gluten and makes the dough more elastic and stronger. I really loved this knocking back stage. The dough at this point felt like a beautifully soft pillow, and it was lovely to touch. After punching it and folding it, I shaped the dough to an approximate oval (with the seam at the bottom, as advised) and left it on the baking tray to prove for the second time.
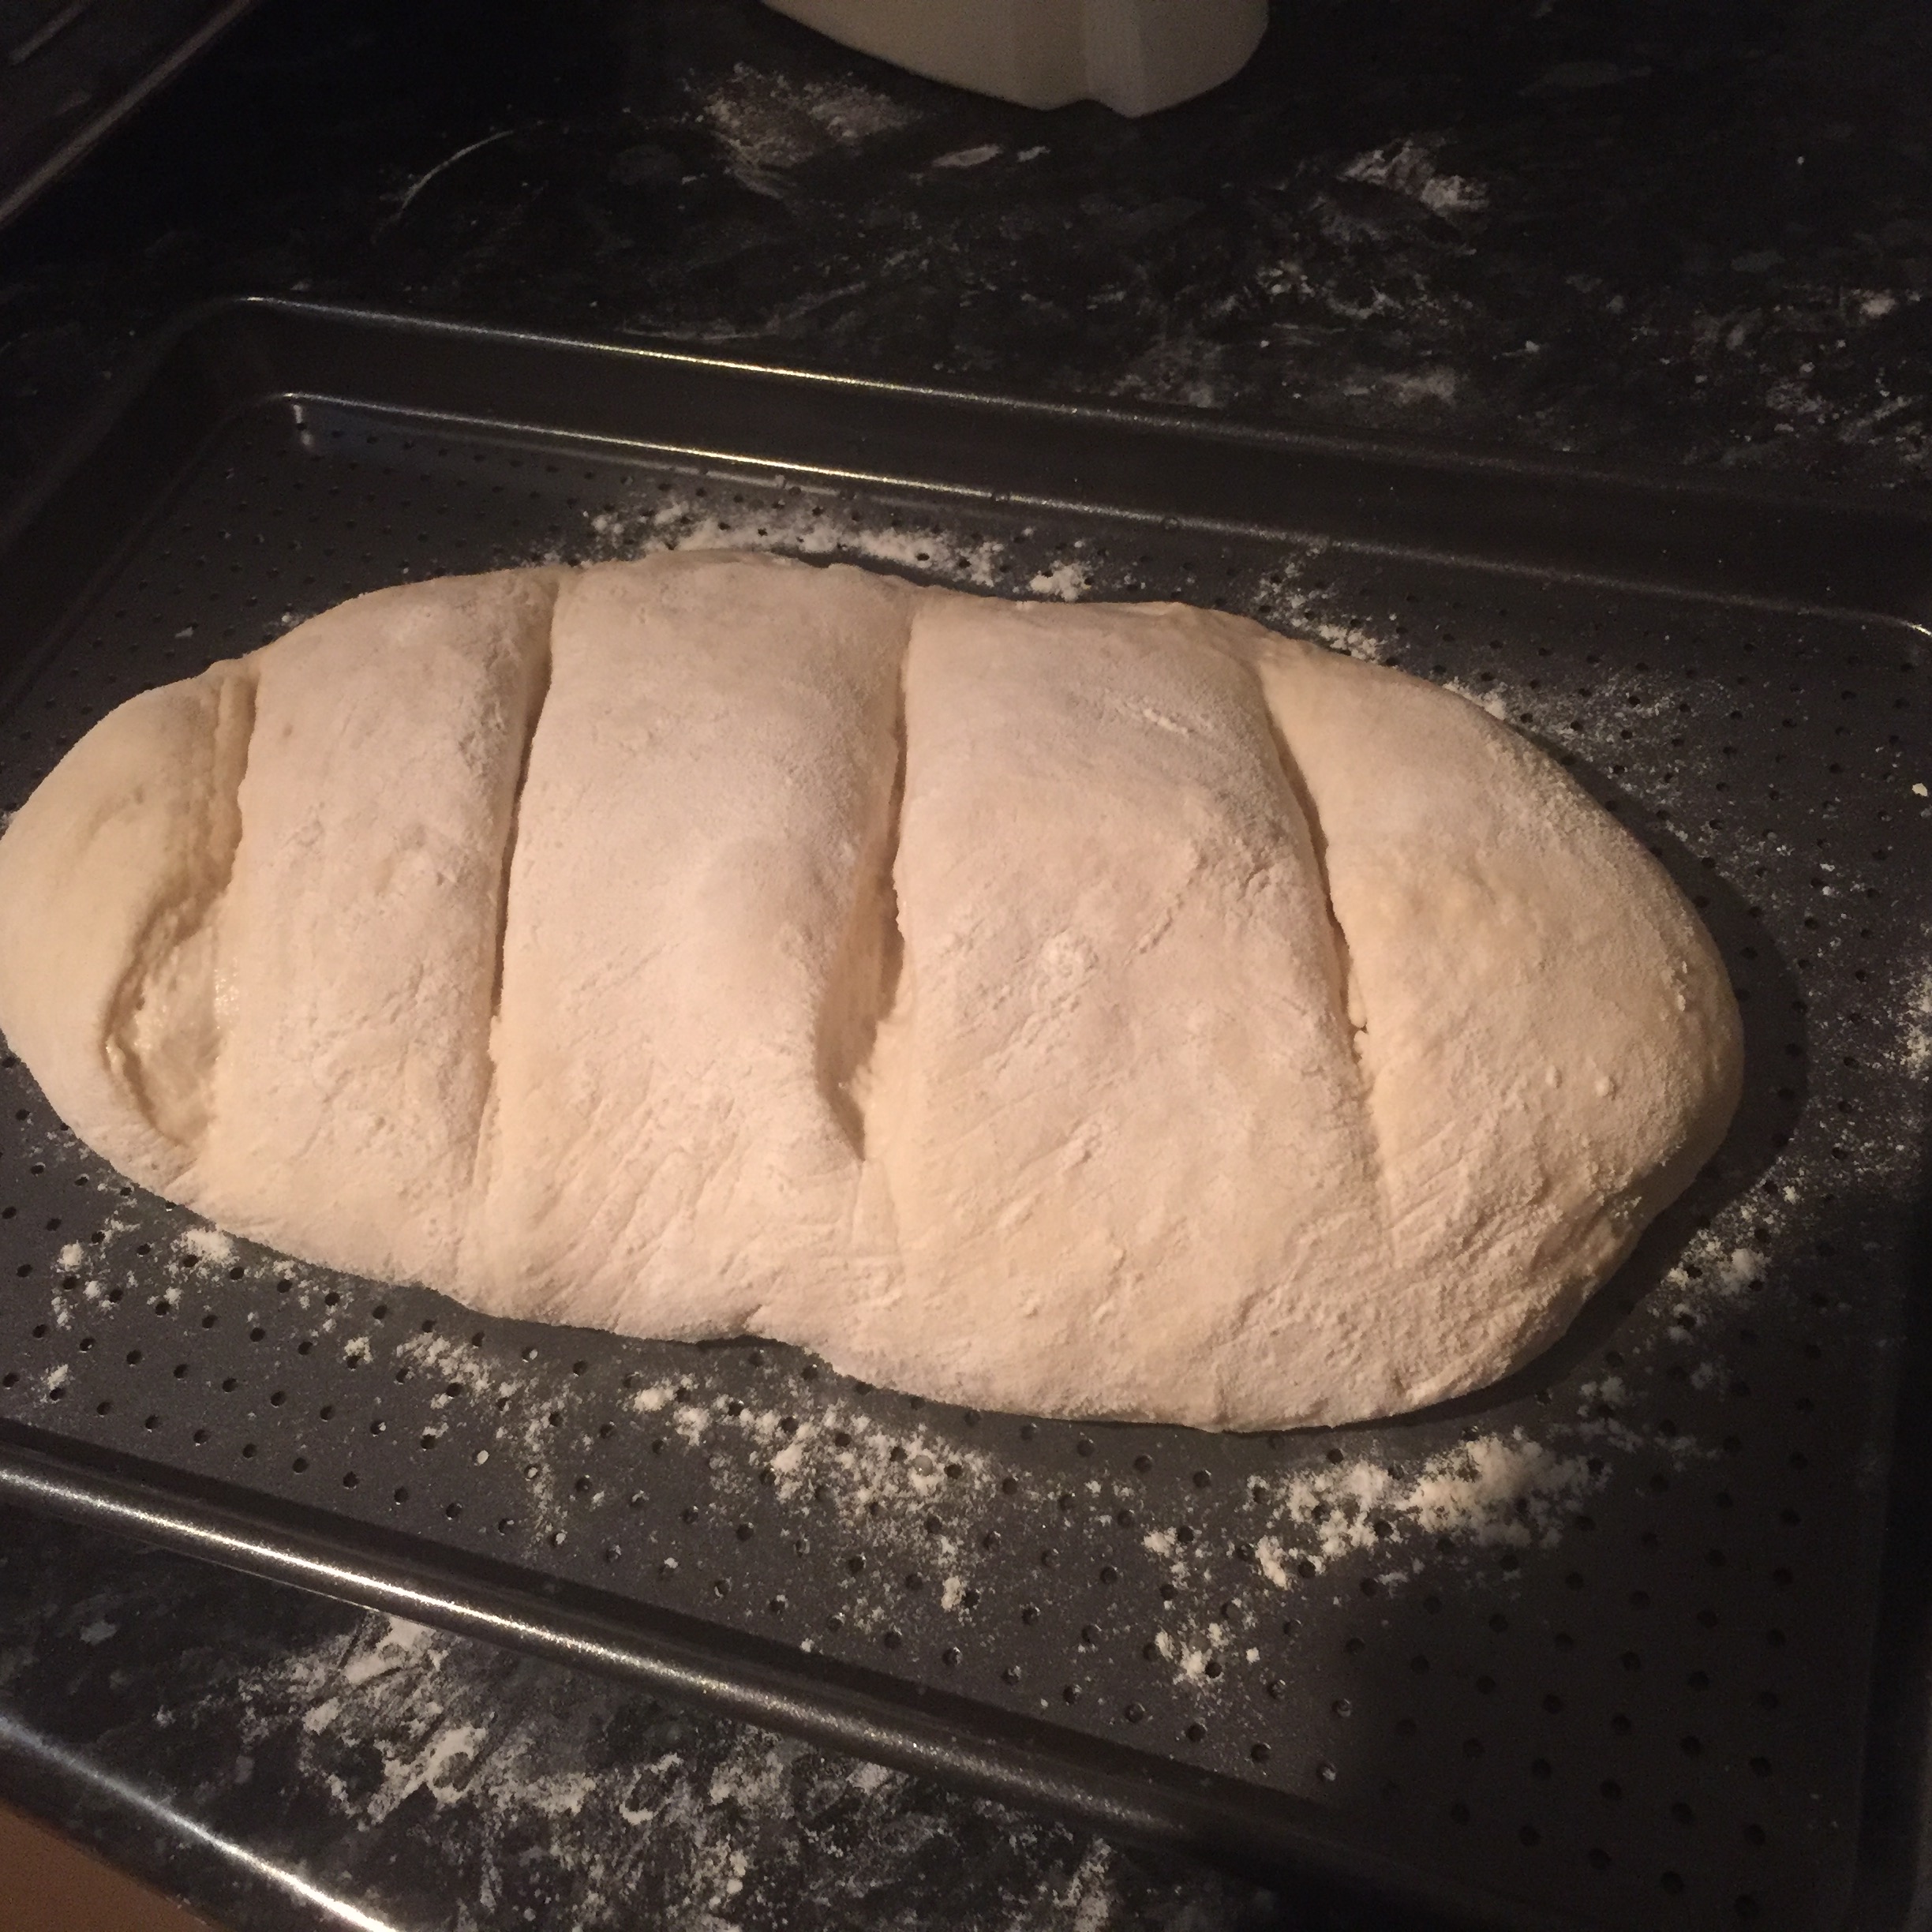
Shaped loaf, after the second prove, ready for the oven
This time it took about an hour to double in size, then I had to dust the loaf with flour and slash the top. The slashing is apparently very important as it lets out the carbon dioxide which forms inside the loaf as it rises in the oven and if this isn’t done, the bread will crack around the base. I don’t think my knives were sharp enough as I think ideally I could have done with more defined slashes.
The total cooking time was around 45 minutes, with the last 15 minutes at a slightly lower temperature. I was very gratified to see the loaf rise whilst cooking, broadly keep its shape and develop a nice crust.
When I cut the loaf, its structure wasn’t technically perfect as there were larger air bubbles at the top and it was slightly too dense at the base, but it was recognisably a loaf and was also not only edible but actually tasty. I’m so used to tasteless mass produced bread that it was quite surprising for bread to have flavour (which is a little sad).

White Bloomer Bread – for my first attempt, not bad
Overall I was really pleased with this loaf as my first attempt. I really enjoyed the process of making the loaf and handling the dough, and very much enjoyed eating the finished product. The only drawback to breadmaking as far as I can see is the logistical issue of the timings. It is apparently possible to leave bread for too long in the proving stage so therefore although you leave the dough to rise and can get on with other things while it’s doing that, you can’t leave it completely unattended for long periods. Thus, bread needs to be baked when you are in the house, which in my case it means I can’t do it on a working day.
I clearly need more practise at bread as it seems like it’s one of those things which becomes easier and more instinctive the more often you do it, but encouraged by my first efforts, I definitely will try again. I’m excited to get more used to the mixing and kneading and eventually start experimenting with different types of loaves and flavoured breads. I’m slightly worried this could become something of an obsession.
Scores for this one are:
Healthiness – 5/10 (bread isn’t unhealthy per se, it’s just that its nutritional value is not as high as other food types for the same number of calories)
Ease of preparation – 5/10 (the techniques and processes are not difficult to pick up, it’s more the timings and the fact that you need to leave the loaf and keep coming back to it which make bread more of a logistical challenge than other types of baking)
Flavour/taste – 10/10 – so much better than shop bought!
Here’s the recipe I used:
http://www.bbc.co.uk/food/recipes/paul_hollywoods_bloomer_84636
